Turn a Powerpoint File Into Google Slides in 5 Easy Steps
The past year has been a wild ride for everyone, and that includes teachers who were thrown directly into the burning hellfire of… remote learning. Overnight, teachers were expected to find or make resources that could be used to teach students at home, through a computer screen. So many teachers already had resources in their arsenal that they frantically tried to turn into something useable for remote learning. The number one question I’ve gotten over the past few months is, “Can I use this in Google Slides?” and the answer is YES! So many teachers that I’ve helped with this over the past year were completely mindblown to find out how easy it is to convert a Powerpoint file into a Google Slides document. And now you get to join them!
How to Turn a Powerpoint File into Google Slides
Google products are an easy-to-use, web-based alternative to our typical Mac and PC products. Not to mention that Google has created Google Classroom, one of the most widely used learning management systems. But what if I only have a resource in a Powerpoint version? Does that mean I can’t use it? Never fear, my friend. This tutorial will walk you step by step through the process of converting a PPT into a Google Slides document.
Step #1 - Download the Powerpoint
If the Powerpoint you’re wanting to convert is a TPT resource, go to the product page or your “My Purchases” page to download the file. Save it to your desktop or another folder where you can find it easily.
Step #2 - Create a New Google Slides Presentation
Open a new window and go to your Google Drive home page. In the upper left-hand corner, you’ll see a + sign that will open a drop-down menu. From that menu, select “Google Slides” - this will open a new Google Slides presentation.
Step #3 - Resize the Slides
Google Slides defaults to a widescreen (16:9) view, while most Powerpoint presentations that you purchase from TPT will be in the Standard (4:3) format. Thankfully, this is an easy fix. Here are the steps to resize the slides:
File > Page Setup
Select Standard (4:3)
Step #4 - Import the Slides
The next thing we’ll do is find that Powerpoint file that you saved earlier and import the slides. Follow these steps:
File > Import Slides
Upload > Select a File
Choose the Powerpoint you saved earlier
Step #5 - Choose the Slides You Want
Once your file finishes loading, you’ll have the option to select the slides you want. I like to click the “All” button in the upper right-hand corner, which will automatically highlight all of the slides in that file.
Once you’ve selected the slides you want to import, you’ll click “Import Slides” and bingo, bango, bongo you have your very own Google Slides version of this file! Now wasn’t that easy?
A Note About TPT Resources
If the file that you’re converting is a resource that you purchased from TeachersPayTeachers, please keep in mind that you have purchased a license for use in one classroom/one teacher. Please respect the hard work of these creators by only sharing this file with those who have purchased the licenses to use it.
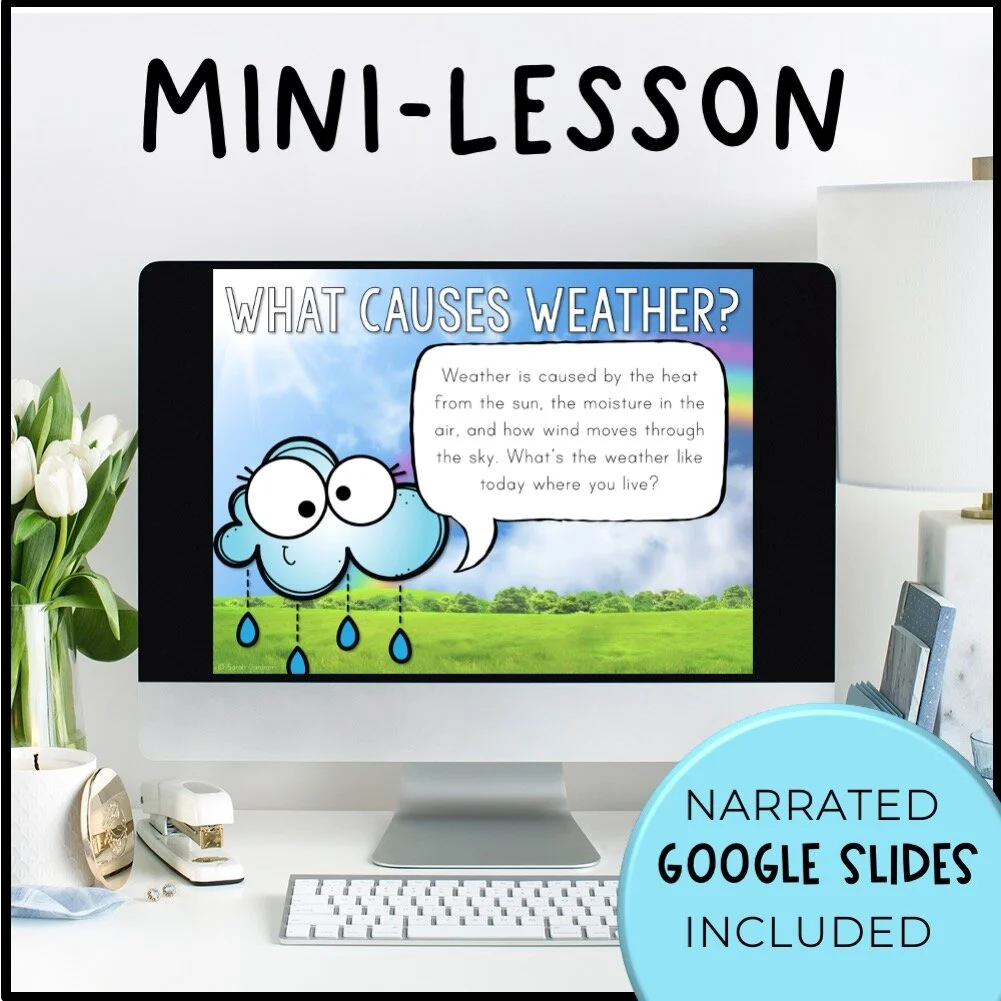
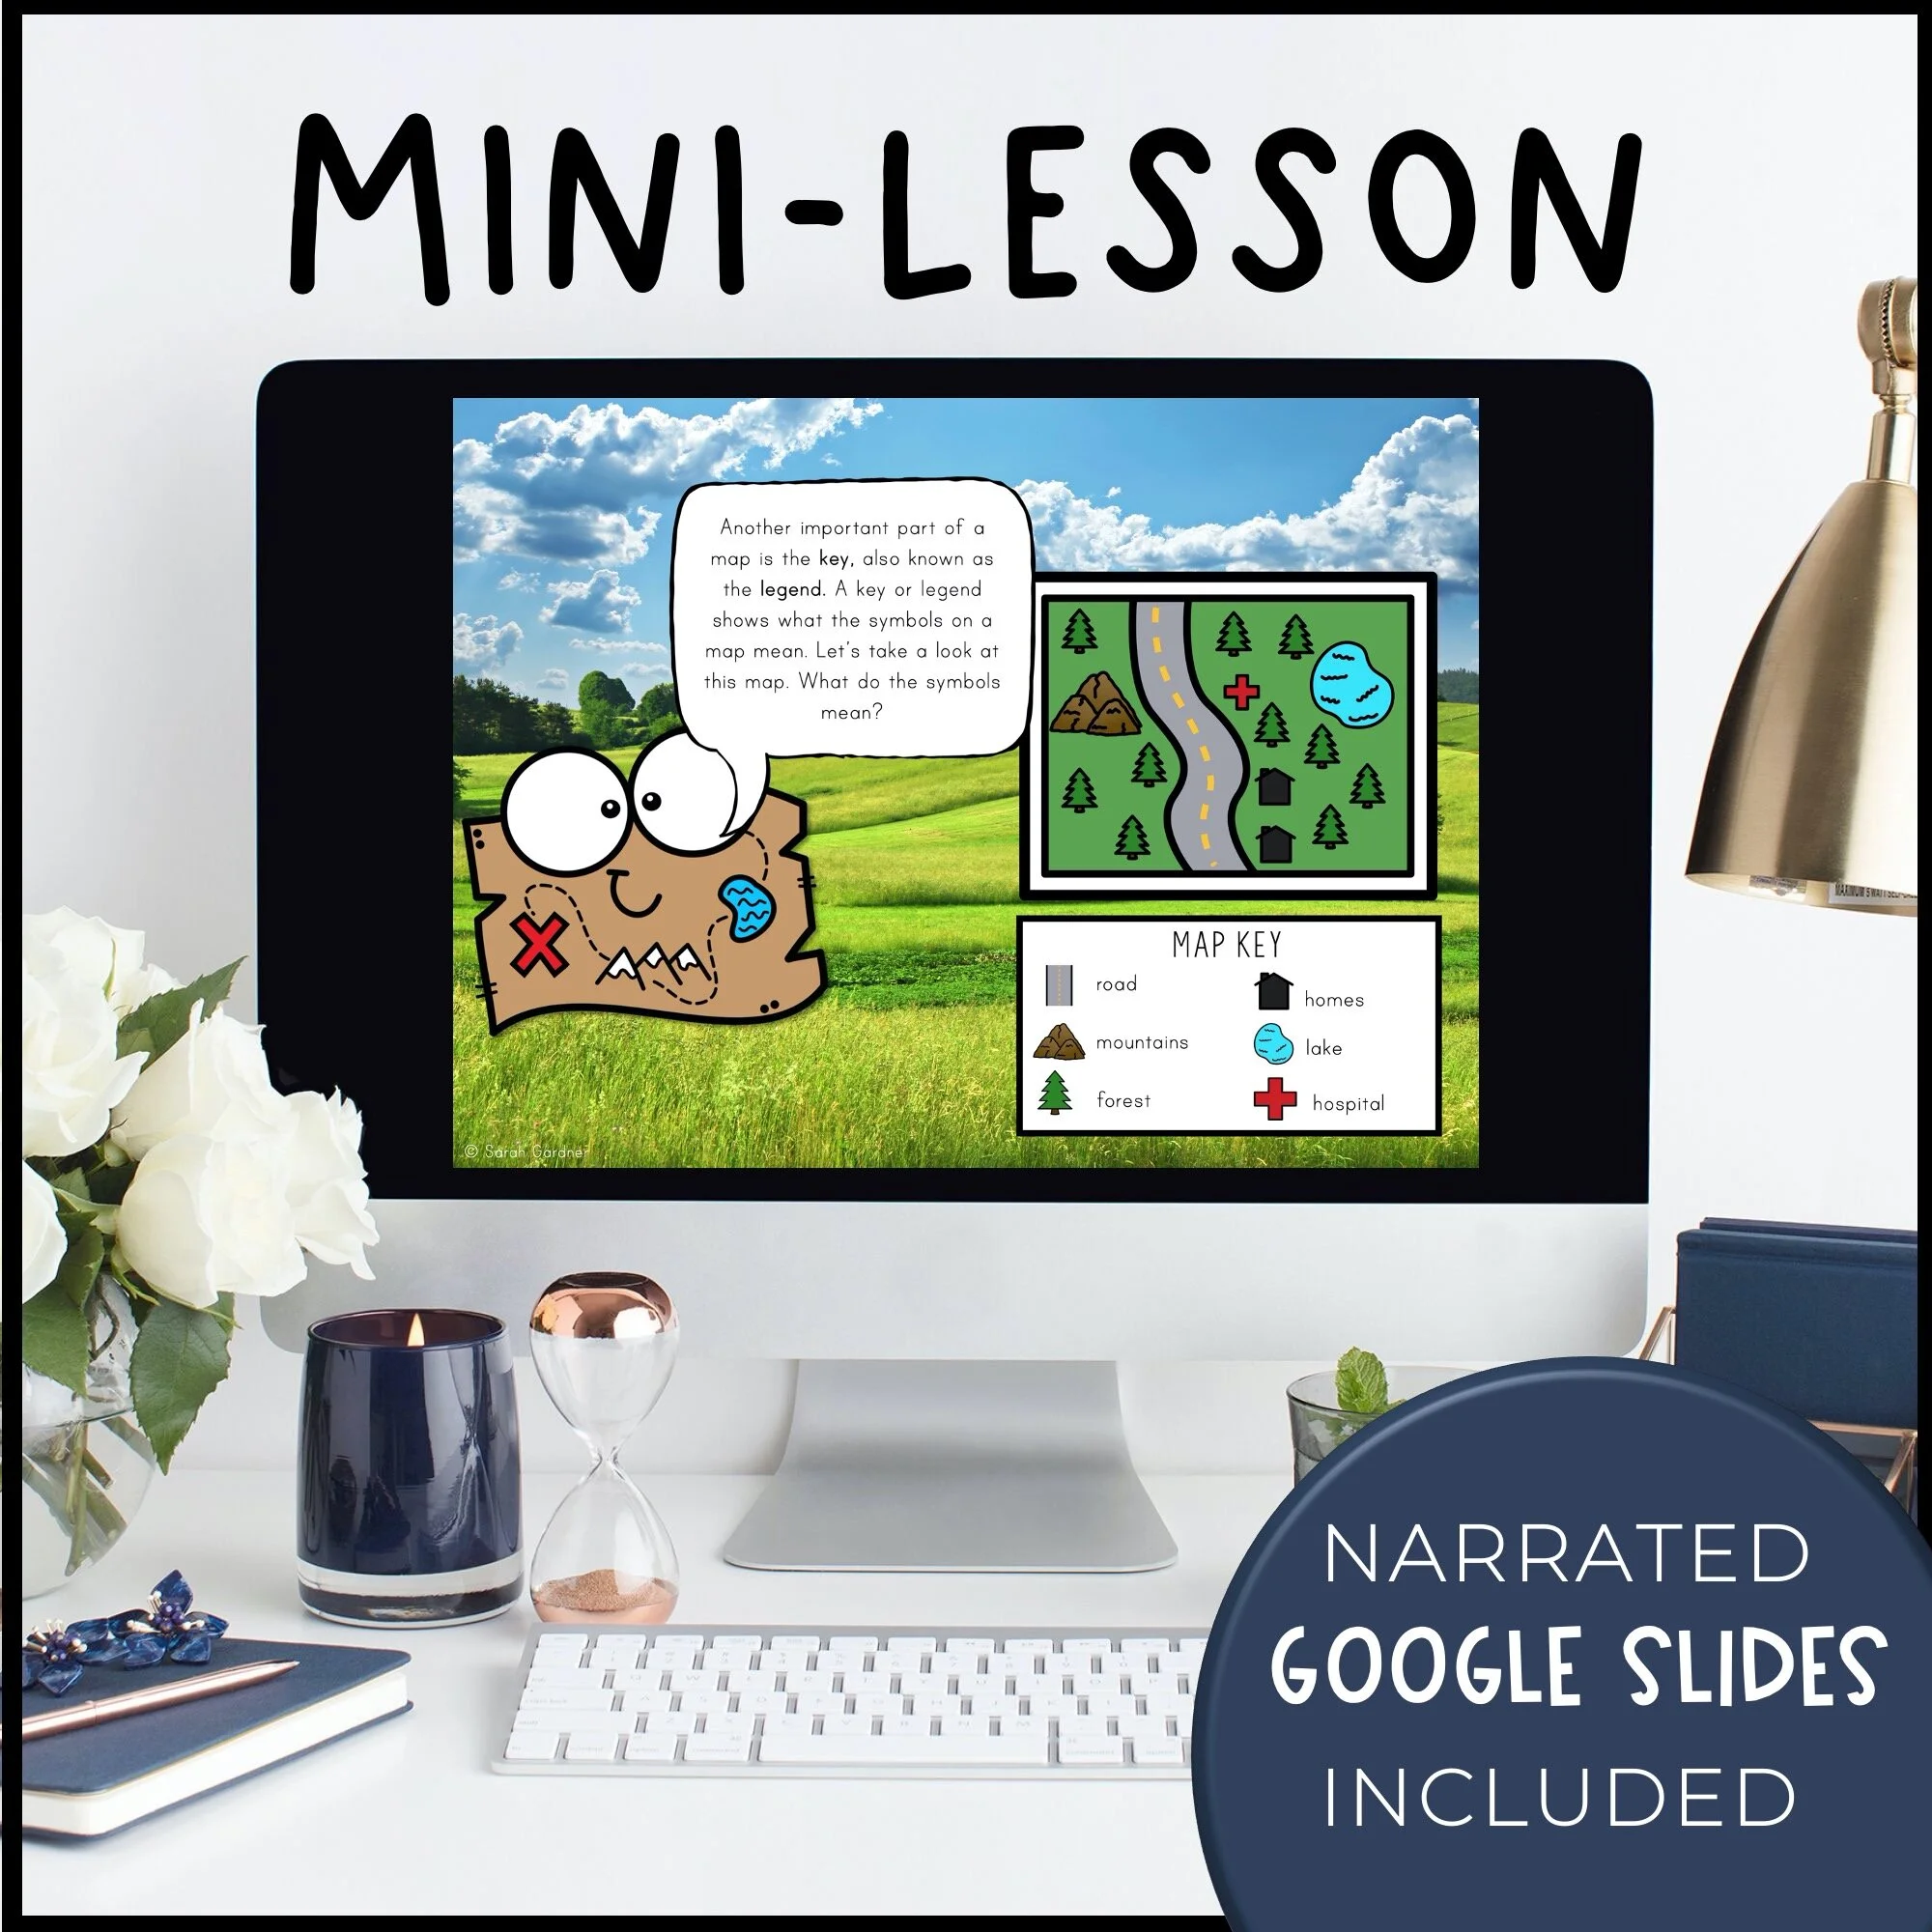
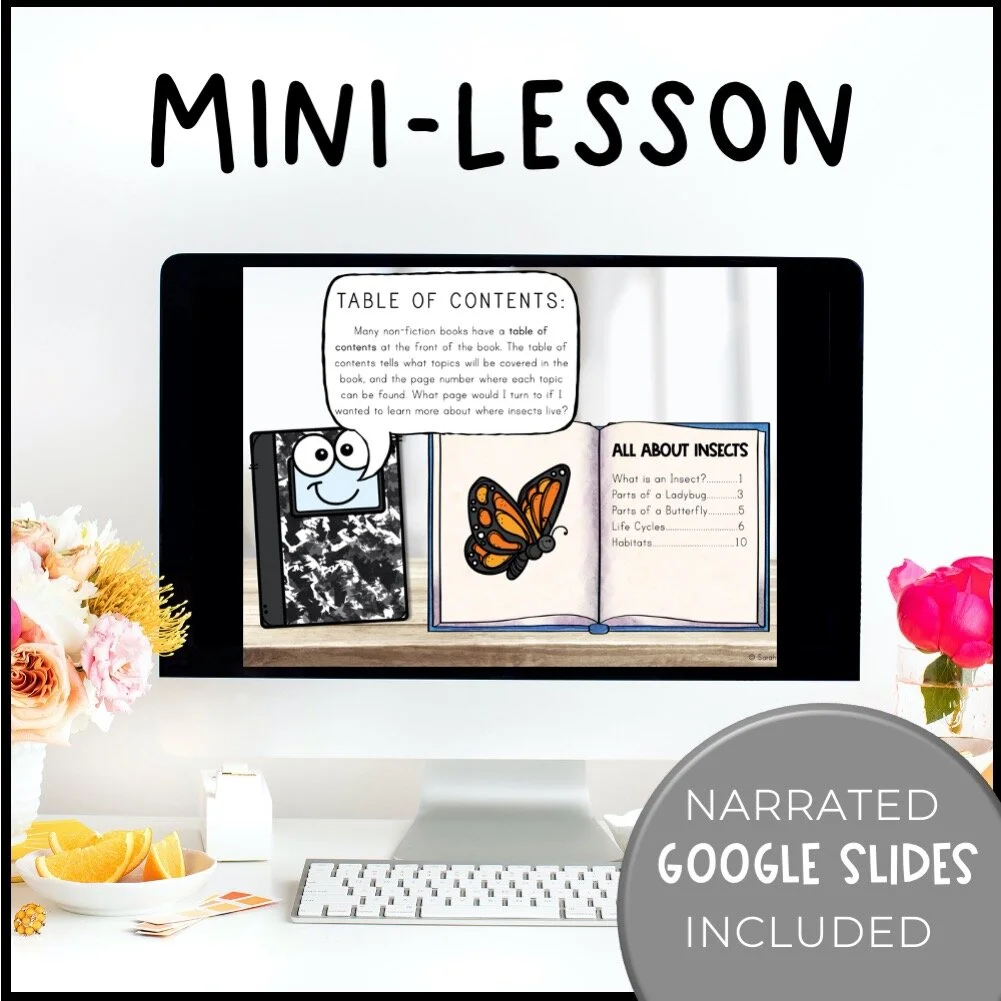
You Might Like These Digital Mini-Lessons
I searched high and low for high-quality, engaging, and quick lessons for actually teaching (not just practicing) concepts & skills to my students. I couldn’t find anything I liked, so I’ve spent the last two years creating them myself! Each of the lessons below includes a Powerpoint, PDF, and narrated Google Slides version.

